What Clay Soil Means for Your Pavilion Project
Pavilions in Mountain Brook are more than a few posts and a roof. They act like outdoor rooms that need to stand up to Alabama's clay, rain, and slopes for a long time. Getting that right starts below the surface, long before you see the first beam go up.
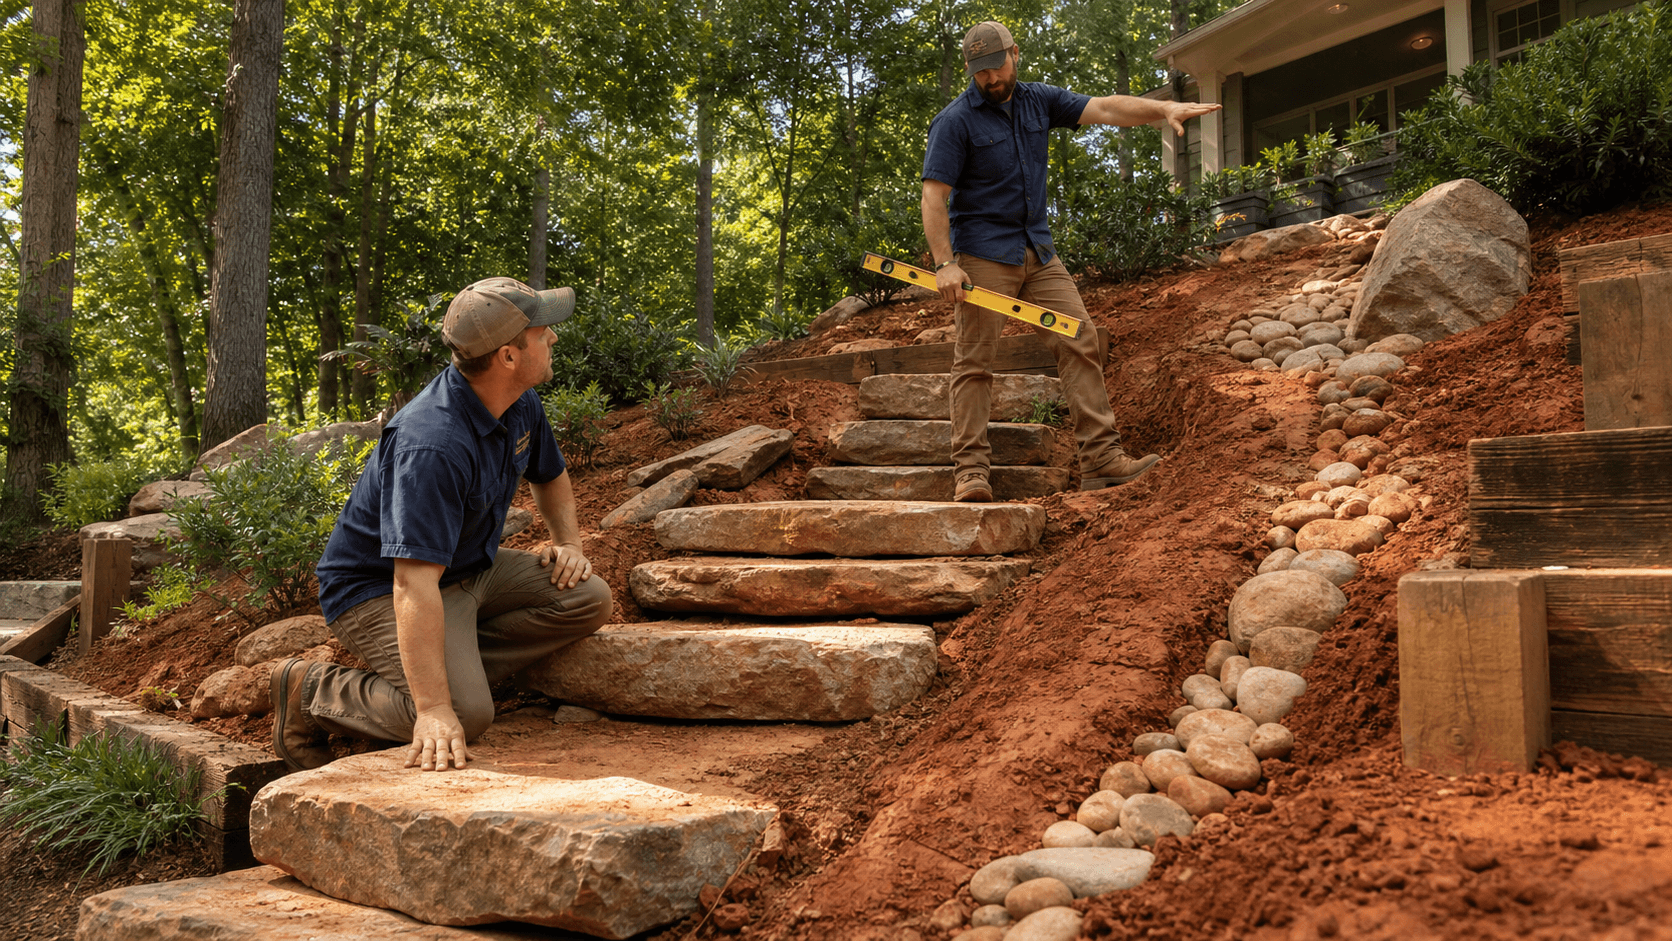
Our red clay holds water, drains slowly, and moves with wet and dry cycles. Add in steep lots, older fill areas, and heavy storm bursts, and you get a site that will punish a pavilion if the footings and drainage are treated like a simple backyard add-on. A good pavilion contractor in Mountain Brook should be talking about structure, not just stain colors and ceiling fans.
At Wood-Palmer Outdoor Creations, we come at these projects with an engineering-first mindset and 75 years of combined leadership experience. We treat your pavilion as part of a complete outdoor living environment, tied into hardscape, landscape, irrigation, and landscape lighting. In the sections below, we'll walk through how footing design, drainage, and soil stabilization should be handled on clay-heavy sites before anyone starts pouring concrete or setting posts.
How a Pavilion Contractor in Mountain Brook Should Approach Footings
Footings and piers are the hidden structure under your pavilion. Their job is simple to say and hard to do: carry the load of the roof, wind, and use down through the softer topsoil into stronger, more stable soil below.
In Mountain Brook, shallow post holes are usually not enough. Clay can be loose near the surface, there may be old fill from past grading, and slopes change the way loads push and pull on each post. Footing depth, diameter, and reinforcement should be based on engineering, not a guess or a rule of thumb.
A serious approach to pavilion footings on clay should include:
- Depth set by bearing capacity, not by a standard shovel length
- Proper pier diameter sized for the roof span and column loads
- Rebar cages tied and placed correctly inside the concrete
- Uplift resistance for wind, not just bearing for gravity loads
Many Mountain Brook lots have cut-and-fill areas, aging retaining walls, or existing patios and walks nearby. That makes coordination even more important. Footings need to be laid out with a full understanding of:
- Roof geometry and beam spans
- Column size and spacing
- How the pavilion will connect to patios, steps, and walkways
- Where existing foundations and utilities sit below the surface
We treat pavilion footings as part of a structural package. That means design, engineering, and installation all talk to each other, instead of being broken into a random "concrete" line and a separate "structure" line. With one design-build team, you're not left in the middle if the designer drew one thing, the engineer called for another, and the crew wants to build a third version.
Managing Water: Drainage and Grading Under Your Pavilion
Water is one of the biggest threats to a pavilion on clay soil. Central Alabama storms can dump a lot of rain in a short time. Our clay doesn't absorb quickly, so water tends to run, pond, and build pressure behind walls and slabs.
Under and around a pavilion, that can lead to:
- Standing water under slab areas
- Mud pumping up through joints in pavers
- Erosion around footings and steps
- Hydrostatic pressure behind seat walls or retaining walls
Proper grading under a pavilion starts with a planned slope, not whatever the skid steer leaves behind. We look at finished elevations at the house doors, garage slabs, existing patios, and yard grades, then set the pavilion floor height to keep water moving in a controlled direction.
Good drainage planning can include:
- Subtle surface slopes to move water away from the pavilion
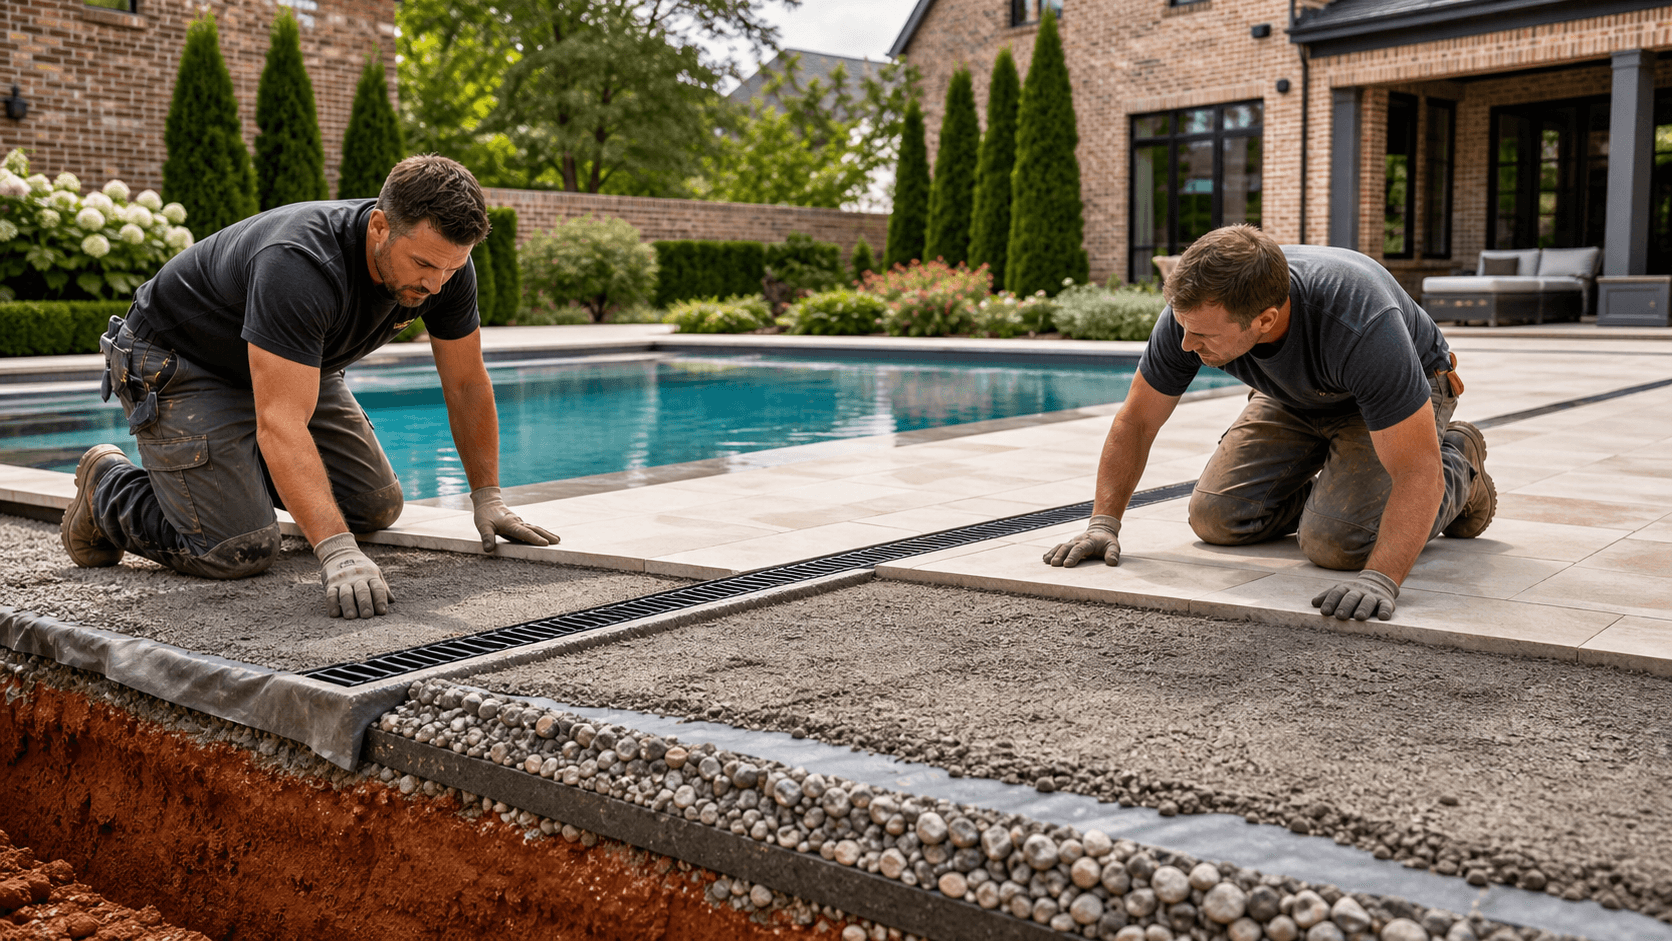
- Compacted base layers under pavers or concrete pads
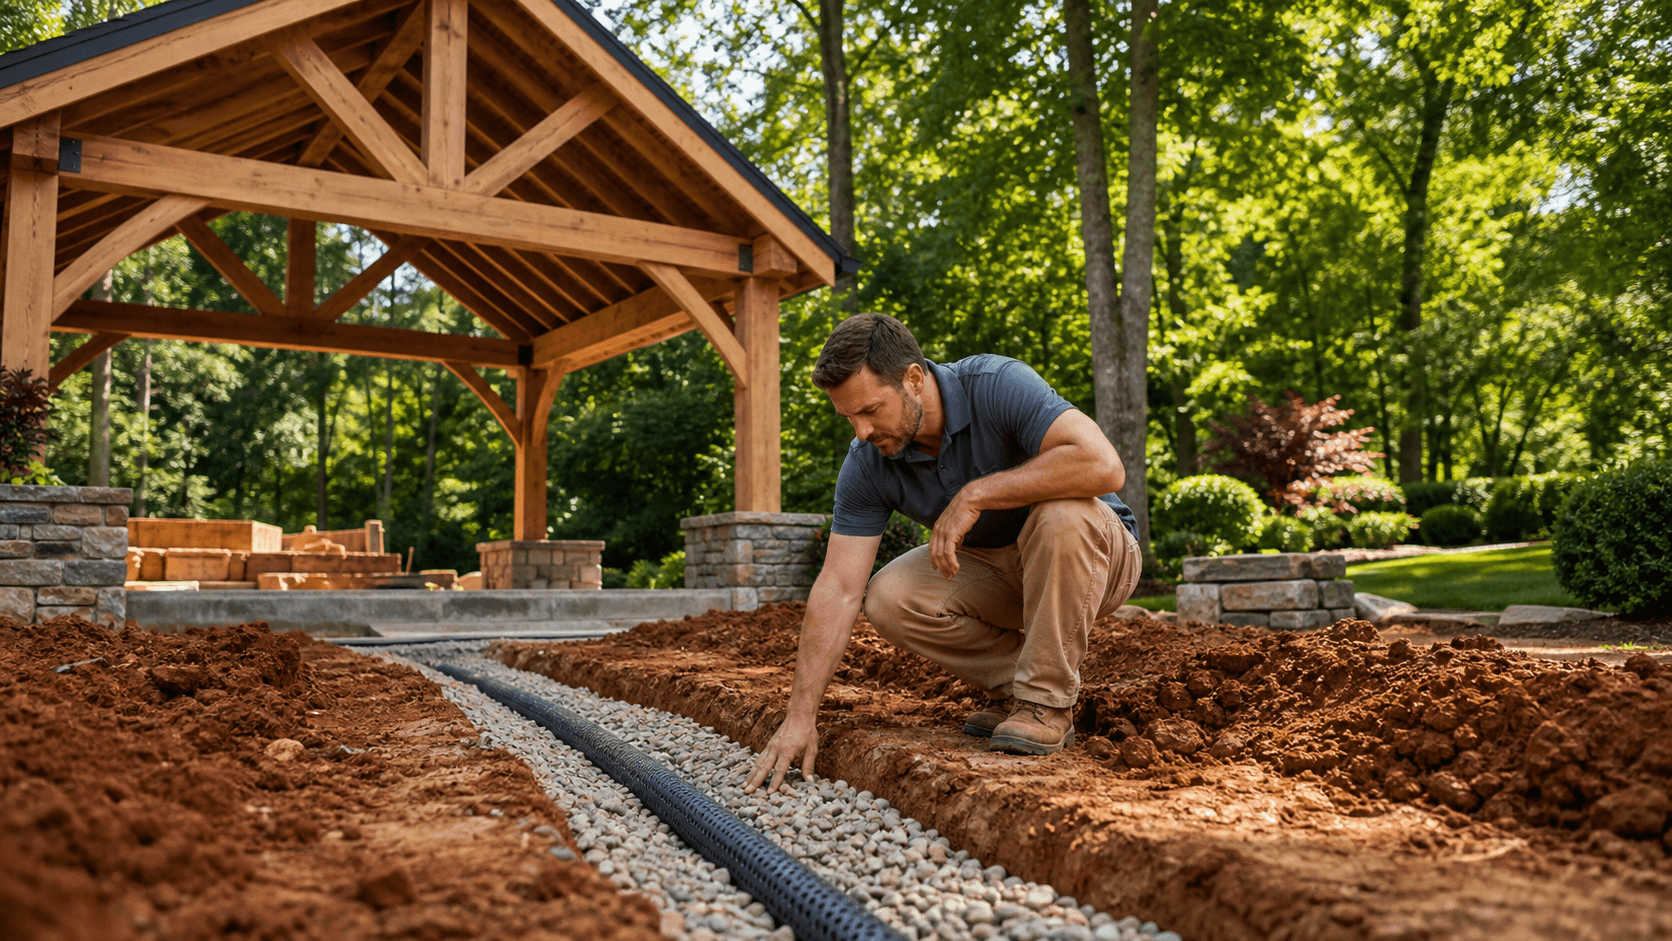
- French drains to intercept water coming down a slope
- Trench drains at the edge of hardscape where water concentrates
- Catch basins tied to subsurface piping that daylight in a safe area
The pavilion roof itself adds more water to the equation. Downspouts need to tie into the drainage plan, not just splash onto the ground at footing locations. Irrigation layouts should avoid dumping water against columns or slab edges. Landscape lighting conduit needs to be routed so it doesn't block drains or cut through base layers in a way that weakens them.
When one team handles the structure, hardscape, plantings, irrigation, and landscape lighting, drainage is planned once and built to one standard. You don't end up with a pavilion that drains onto a patio that drains into a planting bed that floods the footings.
Stabilizing Clay Sites Before You Build the Pavilion
Clay in Mountain Brook swells when it's wet and shrinks when it's dry. That constant movement can crack slabs, tilt columns, and shift pavers if the subgrade isn't prepared correctly. The fix isn't a thicker slab; it's a better base.
A typical engineering-minded sequence for stabilizing a pavilion area looks like this:
- Strip off organic material, roots, and obvious soft pockets
- Proof-roll the area with equipment to find hidden soft spots
- Remove any unsuitable fill and replace it with better material
- Sculpt the subgrade to the planned slope and shape
- Compact the soil and base in controlled lifts
On top of the clay, we often use crushed stone base to spread loads and help with drainage. Geotextile fabric can separate the clay from the stone so the two don't mix over time. In tougher areas, soil modification with lime or cement may be recommended by engineering to stiffen the native clay.
Good base preparation should extend beyond the pavilion footprint. The hardscape that wraps the pavilion, like pavers, seat walls, outdoor kitchen bases, and steps, all need to sit on stable ground that works with the footing design. When everything shares a well-prepared base, the whole outdoor living area tends to move together instead of different pieces settling at different rates.
At Wood-Palmer Outdoor Creations, we lean on our 75 years of combined leadership experience in the field to make these calls as conditions show up, with ownership involved in key grading and structural decisions. That helps keep crews from improvising under pressure and gives your pavilion a better foundation for the long haul.
Integrated Design-Build vs. Piecemeal Pavilion Projects
Many homeowners are tempted to hire one contractor for the pavilion, another for the patio, and another for irrigation and landscape lighting. On simple, flat, sandy sites that might work. On Mountain Brook clay with slopes and established homes, it usually leads to problems.
Common issues with a piecemeal approach include:
- Footings poured in the wrong places for future patios or walls
- Mismatched elevations between the pavilion and existing doors
- Downspouts that dump onto walkways or planting beds
- Drains that get cut or blocked during later phases
An engineering-first design-build process follows a more controlled path. It starts with a site walk and a grading and drainage plan. Then come footing and structure engineering, followed by coordinated installation of hardscape, plantings, irrigation, and landscape lighting according to one set of drawings.
Total project costs will always depend on roof size, structural details, access, and site conditions. But investing in integrated planning usually saves headaches and rebuild work that comes from trying to bolt new pieces onto old work later. A seasoned pavilion contractor in Mountain Brook should be comfortable talking you through load paths, footing locations, and water flow patterns, not just showing you photos and material samples.
Get Started With Your Project Today
If you are ready to design a custom pavilion or outdoor living space tailored to your property, we are here to help. As your trusted pavilion contractor in Mountain Brook, Wood-Palmer Outdoor Creations will walk you through every step, from initial ideas to final construction. Share your goals, budget, and timeline, and we will recommend a clear path forward. To get started, contact us online, send us an email, or give us a call at (205) 305-7780 to talk about your property.